Post by Mme de Beaufort on Jan 22, 2008 13:25:29 GMT -5
So I finished my net overdress. It went very quickly. Once you do a regency gown, you tend to fly through the steps after you've done a couple.
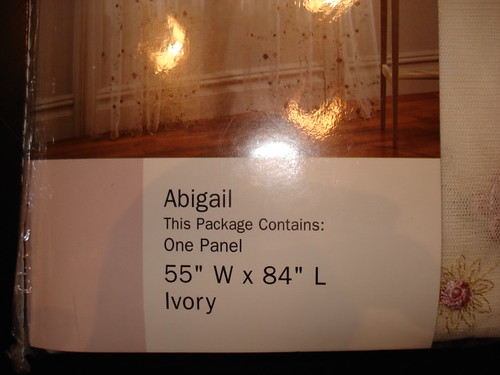
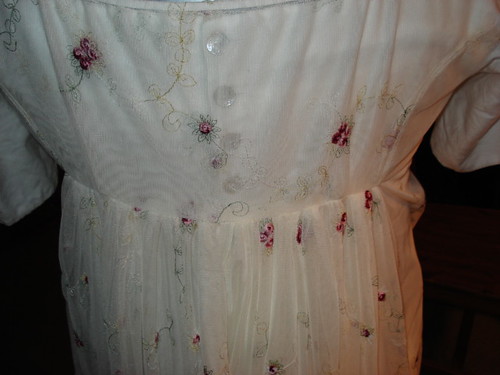
I started with my fabric. Window sheers; yes. Net fabric (especially pre-embroidered) is notoriously expensive, I found these at Fred Meyers on sale for $7.99 apiece so I got them.
I cut 44" off the scalloped bottom for the skirts, and made the bodice and sleeves from the top half of each sheer.

Now I moved so fast, I kept forgetting to take pictures during each step, so you'll have to bear with the great progress gaps in the images.
I used the S&S (simplicity pattern) again. I just used the bodice pieces; I made my own sleeves and used the dress form for the skirt.
Here is 1 back piece.
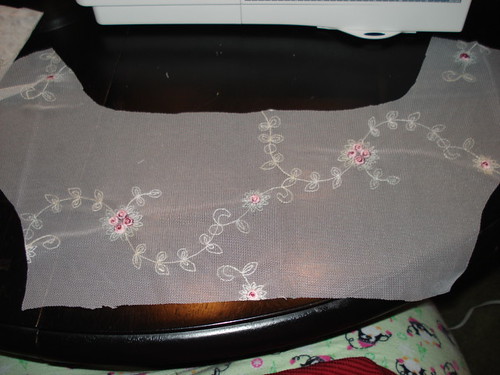
If you'll notice, it was cut on the fold and is one piece. I cut the front to open. I cut two of every piece so I could have two layers for the bodice. Yes, it's a rough cut. That's a side effect of being a light-speeder like me.
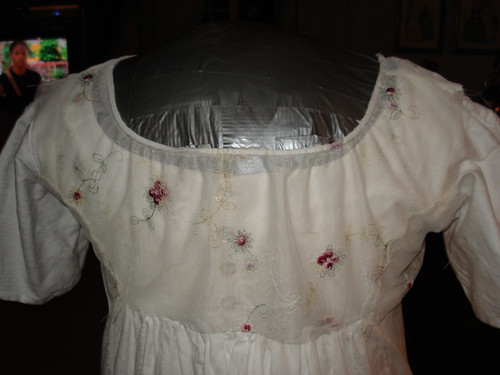
I sewed two bodices, essentially, as the pattern requires, and then sewed them together around the neckline, reversing them for a clean seam around the neck. A quick test on the dress form,

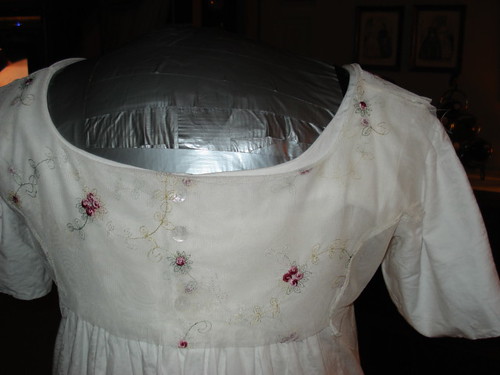
and onto the next steps.
I put it on the dress-form and slide a lace around the neckline to see how it looks. It looked okay, so I take it off, sew the channel for the lace, thread the lace through it, and then put it back on the dress-form to adjust the gather.
Back
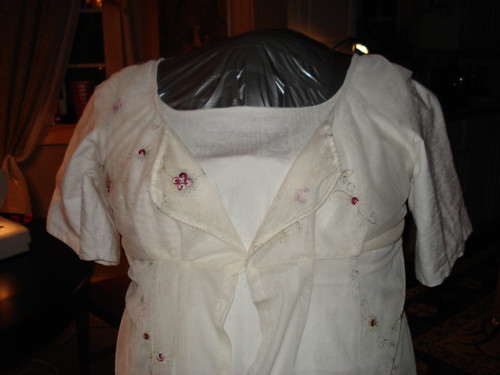
Front
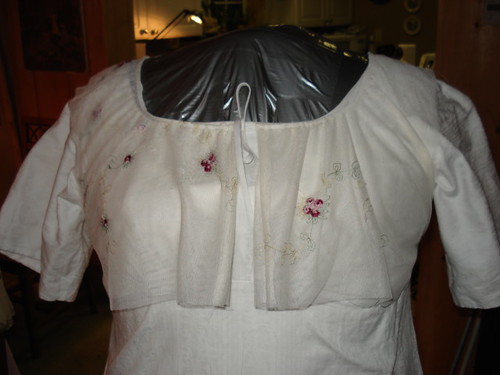
I sew the ends of the lace when finishing the front flaps, and set the neckline. I also pin the bodice to the shape of the bust on the dressform, adding pleats on the front and two on the back. I sew the edge into place. It's now time to add the skirts. I sew the two bottom parts of the sheers together to create the skirt, and then pin them on the dress form, matching the front pleats and then gathering like crazy on the back. I sew on the skirts.
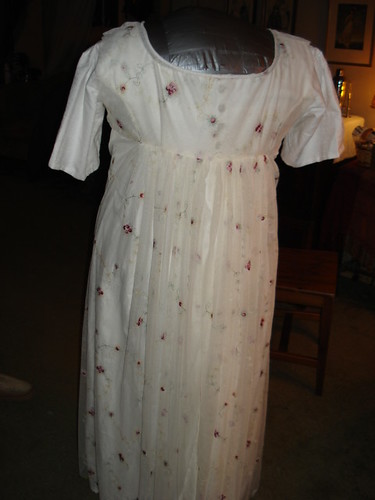
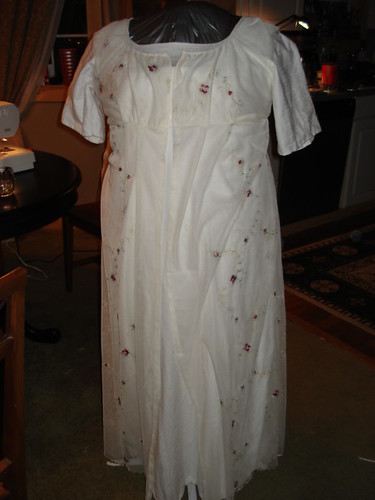
I then added one of my 'custom' sleeves before I got too tired to continue Sunday night:
Monday I stopped by Mill End during the day and got some trim. I went home and finished the gown up, adding the second sleeve and the trim, plus a clasp that i am not entirely pleased with; but will have to deal with until later.
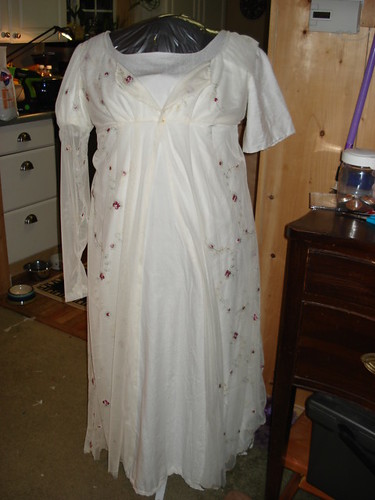
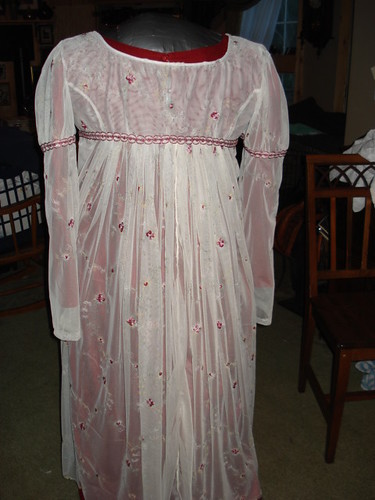
Pelisse finished on white dress:
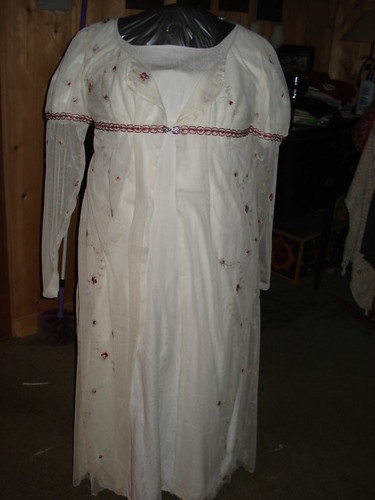

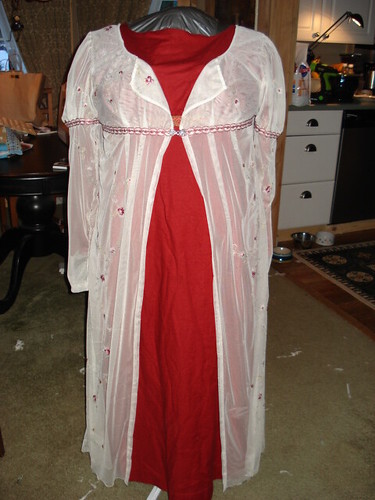
Just for kicks, pelisse finished on red-dress: (Please ignore messy, scrap-covered floor and disheveled kitchen)
I started with my fabric. Window sheers; yes. Net fabric (especially pre-embroidered) is notoriously expensive, I found these at Fred Meyers on sale for $7.99 apiece so I got them.
I cut 44" off the scalloped bottom for the skirts, and made the bodice and sleeves from the top half of each sheer.
Now I moved so fast, I kept forgetting to take pictures during each step, so you'll have to bear with the great progress gaps in the images.
I used the S&S (simplicity pattern) again. I just used the bodice pieces; I made my own sleeves and used the dress form for the skirt.
Here is 1 back piece.
If you'll notice, it was cut on the fold and is one piece. I cut the front to open. I cut two of every piece so I could have two layers for the bodice. Yes, it's a rough cut. That's a side effect of being a light-speeder like me.
I sewed two bodices, essentially, as the pattern requires, and then sewed them together around the neckline, reversing them for a clean seam around the neck. A quick test on the dress form,
and onto the next steps.
I put it on the dress-form and slide a lace around the neckline to see how it looks. It looked okay, so I take it off, sew the channel for the lace, thread the lace through it, and then put it back on the dress-form to adjust the gather.
Back
Front
I sew the ends of the lace when finishing the front flaps, and set the neckline. I also pin the bodice to the shape of the bust on the dressform, adding pleats on the front and two on the back. I sew the edge into place. It's now time to add the skirts. I sew the two bottom parts of the sheers together to create the skirt, and then pin them on the dress form, matching the front pleats and then gathering like crazy on the back. I sew on the skirts.
I then added one of my 'custom' sleeves before I got too tired to continue Sunday night:
Monday I stopped by Mill End during the day and got some trim. I went home and finished the gown up, adding the second sleeve and the trim, plus a clasp that i am not entirely pleased with; but will have to deal with until later.
Pelisse finished on white dress:
Just for kicks, pelisse finished on red-dress: (Please ignore messy, scrap-covered floor and disheveled kitchen)
 Where so many hours have been spent in convincing myself that I am right, is there not some reason to fear I may be wrong? ~ Jane Austen